
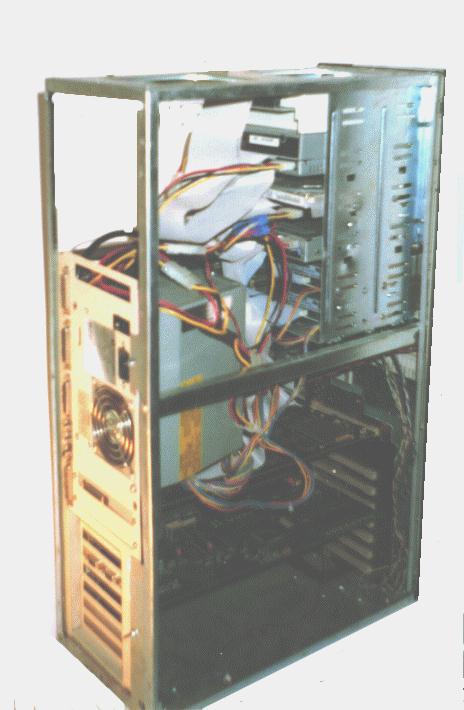
 The Tower with everything fitted! (Click!) |
Remove the screws at the rear of the tower and remove the cover. Remove the screws which hold the front on and remove the front (ignore any trailing wires for now, they should all be attached to the front panel and therefore come away with it!). This will leave you with the skeleton frame of the tower!
Drill out all the rivets which hold on the drive bays and remove the drive bays.
N.B. Remember to make a note of which way things come apart and which way they go back together!
Drill out the rivets which hold the back panel on the tower skeleton and remove the back panel. This will ruin the integrity of the structure and it will go rather floppy but don`t worry it will return when everything is riveted back together.
You should now be able to open the framework of the skeleton enough to slot your Amiga inside with the front of the Amiga resting in the front of the framework of the tower and the `left-hand side` of the Amiga resting in the bottom of the tower framework
The reason which we took the drive bays out now becomes clear. To accommodate the height of the motherboard we must remove (Looking from the front of the tower) the bottom right-hand corner. (Use either a Junior hacksaw or, if you know what you are doing, a jigsaw or sabre saw with a metal-cutting blade in it! Once your drive bays unit fits snugly back in it`s skeleton frame as it did before you removed it then Pop-Rivet it back into place! Offer the back panel of the tower up to the machine and mark with a felt tip pen, the area to be removed to accommodate the back panel of the Amiga leaving about 20mm all the way around. This will entail removing most of the lower two thirds of the back of the tower skeleton! When all the ports are accessible then offer the backpanel up to fit snugly as it was before you removed it. This is the point at which you will Pop-Rivet it back into place but just before you do check that the Mouse, Joystick and Keyboard ports are clearly accessible at the front of the tower. If not, mark with a felt tip pen the part of the tower front to cut away, then remove the Amiga from the tower skeleton and remove the offeding part from THE TOWER SKELETON FRONT----NOT THE TOWER FRONT!!!!
Your Amiga is now towered, all that remains is assembly!
| Index |  |
| SulliTech | |